Installing brake pad shims is a crucial step in ensuring the optimal performance and longevity of your vehicle's braking system. As a brake pads supplier, I've seen firsthand the importance of proper installation and the role that shims play in this process. In this blog post, I'll guide you through the steps of installing brake pad shims, explain their significance, and provide some tips to make the process as smooth as possible.
Why Brake Pad Shims Matter
Before diving into the installation process, let's understand why brake pad shims are so important. Brake pad shims are thin metal or rubber components that are placed between the brake pads and the caliper pistons. They serve several key functions:
- Noise Reduction: One of the primary purposes of brake pad shims is to reduce noise and vibrations during braking. When the brake pads come into contact with the rotors, they can generate a high - pitched squeal or a rattling noise. Shims act as a buffer, absorbing and dampening these vibrations, resulting in a quieter braking experience.
- Heat Dissipation: Braking generates a significant amount of heat. Shims help in dissipating this heat away from the brake pads and calipers. By preventing excessive heat buildup, they can extend the life of the brake pads and other braking components.
- Even Pressure Distribution: Shims ensure that the pressure is evenly distributed across the brake pads. This helps in achieving uniform wear on the brake pads, which in turn improves braking performance and reduces the risk of uneven braking.
Tools and Materials You'll Need
Before you start installing brake pad shims, gather the following tools and materials:
- Socket Set: You'll need a socket set to remove the wheels and access the brake calipers.
- Caliper Tool: A caliper tool is used to compress the caliper pistons, making it easier to remove and install the brake pads.
- Brake Cleaner: Brake cleaner is used to clean the calipers, rotors, and brake pads before installation. It helps in removing dirt, grease, and other contaminants.
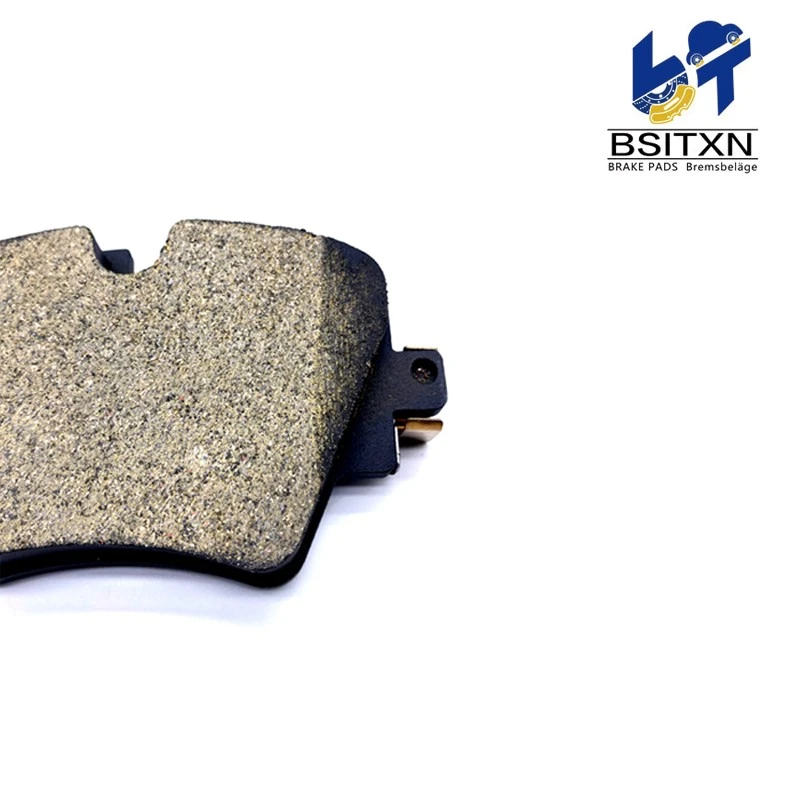
- New Brake Pads and Shims: Make sure you have the correct brake pads and shims for your vehicle. You can find a wide range of high - quality brake pads, such as Dustless Brake Pads and Silent Guard Brake Pads, on our website.
- Anti - Seize Compound: Anti - seize compound is applied to the caliper bolts to prevent corrosion and make future maintenance easier.
- Torque Wrench: A torque wrench is used to tighten the caliper bolts to the manufacturer's specifications.
Step - by - Step Installation Guide
Step 1: Prepare Your Vehicle
- Park your vehicle on a flat, level surface and engage the parking brake.
- Loosen the lug nuts on the wheel you'll be working on, but don't remove them completely.
- Jack up the vehicle and support it with jack stands. Make sure the vehicle is stable before proceeding.
- Remove the lug nuts and the wheel.
Step 2: Remove the Brake Caliper
- Locate the brake caliper, which is usually mounted on the front or rear of the rotor.
- Use a socket set to remove the caliper bolts. These bolts are typically located on the back or side of the caliper.
- Carefully lift the caliper off the rotor. Be careful not to damage the brake line attached to the caliper. You can hang the caliper from the suspension using a piece of wire or a bungee cord to prevent it from pulling on the brake line.
Step 3: Remove the Old Brake Pads
- Once the caliper is removed, you can access the old brake pads. Simply slide them out of the caliper bracket.
- Take note of the position and orientation of the old brake pads, as you'll need to install the new ones in the same way.
Step 4: Clean the Caliper and Rotor
- Use brake cleaner to thoroughly clean the caliper, rotor, and caliper bracket. Remove any dirt, grease, or brake dust.
- Pay special attention to the areas where the shims and brake pads will be installed. Make sure they are clean and free of debris.
Step 5: Compress the Caliper Pistons
- Use a caliper tool to compress the caliper pistons. This will make it easier to install the new brake pads, which are usually thicker than the old ones.
- Insert the caliper tool into the caliper and turn the tool to compress the pistons until they are fully retracted.
Step 6: Install the Shims
- Take the new shims and apply a thin layer of anti - seize compound to the back of the shims. This will help in preventing corrosion and ensure proper adhesion.
- Place the shims on the back of the new brake pads. Make sure they are properly aligned and seated firmly on the brake pads.
- Some shims may have specific markings or shapes that indicate their correct orientation. Follow these markings to ensure proper installation.
Step 7: Install the New Brake Pads
- Slide the new brake pads, with the shims attached, into the caliper bracket. Make sure they are properly seated and aligned.
- Double - check that the shims are still in place and that the brake pads are installed in the correct position.
Step 8: Reinstall the Brake Caliper
- Carefully lower the caliper back onto the brake pads and rotor.
- Insert the caliper bolts and tighten them to the manufacturer's specifications using a torque wrench. Over - tightening or under - tightening the bolts can lead to problems, so it's important to get the torque right.
Step 9: Reinstall the Wheel
- Put the wheel back on the vehicle and hand - tighten the lug nuts.
- Lower the vehicle to the ground using the jack.
- Use a torque wrench to tighten the lug nuts to the recommended torque specification.
Step 10: Test the Brakes
- Before driving the vehicle, pump the brake pedal several times to build up brake pressure.
- Start the vehicle and test the brakes at a low speed in a safe area. Make sure the brakes are working properly and that there are no unusual noises or vibrations.
Tips for a Successful Installation
- Read the Instructions: Always read the installation instructions provided with your brake pads and shims. Different vehicles and brake systems may have specific requirements.
- Inspect the Braking System: While you have the wheels off, take the opportunity to inspect the entire braking system. Look for signs of wear, damage, or leaks. If you notice any issues, it's best to address them before installing the new brake pads.
- Use High - Quality Parts: As a brake pads supplier, I can't stress enough the importance of using high - quality brake pads and shims. Dustless Brake Pads and Silent Guard Brake Pads are designed to provide excellent performance and durability.
- Take Your Time: Installing brake pad shims is a precise process. Don't rush through it. Make sure you take the time to do each step correctly.
Contact Us for Your Brake Pad Needs
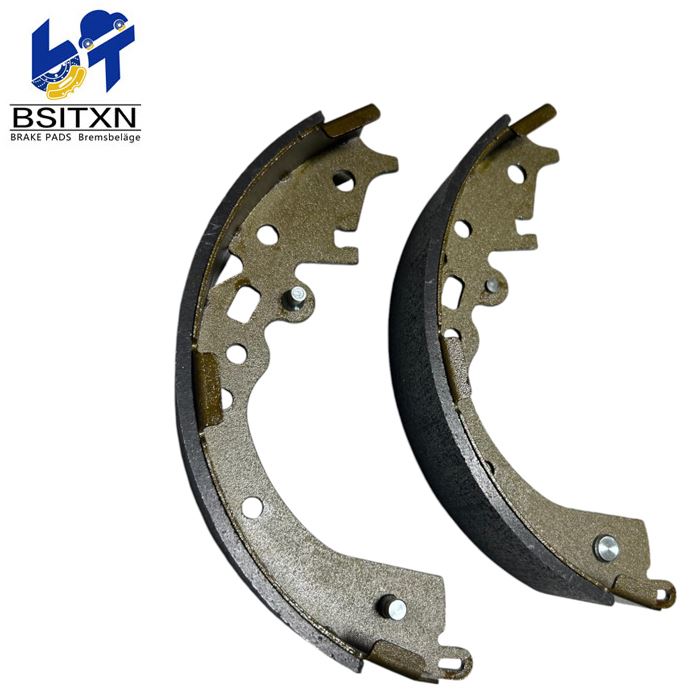
If you're in the market for high - quality brake pads, shims, or Vehicle Brake Shoes, we're here to help. As a leading brake pads supplier, we offer a wide range of products to meet the needs of different vehicles and driving styles. Whether you're a professional mechanic or a DIY enthusiast, we can provide you with the products and support you need.
Contact us today to discuss your brake pad requirements and start a procurement negotiation. We look forward to working with you to ensure your vehicle's braking system is in top - notch condition.
References
- Haynes Repair Manuals
- Chilton Automotive Repair Manuals
- Vehicle manufacturer's service manuals