

Hey there, truck owners and enthusiasts! If you're here, chances are you're either looking to install rear truck brake pads yourself or just curious about the process. Well, you've come to the right place. I'm a supplier of rear truck brake pads, and I'm gonna walk you through the whole installation process step by step.
Why Replace Rear Truck Brake Pads?
First things first, why do we even need to replace rear truck brake pads? Over time, brake pads wear down due to friction. When they get too thin, they won't be able to stop your truck effectively, which is super dangerous. So, regular inspection and replacement of brake pads are crucial for your safety on the road.
Tools You'll Need
Before we jump into the installation, let's gather the tools we'll need. You'll need a jack and jack stands to lift the truck safely, a lug wrench to remove the wheels, a C-clamp or a brake piston tool to compress the brake caliper piston, a socket set, a flathead screwdriver, and some brake cleaner. Having these tools ready will make the installation process go much smoother.
Step 1: Prepare Your Truck
Park your truck on a flat, level surface and engage the parking brake. Make sure the engine is off and the keys are out of the ignition. Loosen the lug nuts on the rear wheels with the lug wrench, but don't remove them just yet. Then, use the jack to lift the rear of the truck until the wheels are about 6 inches off the ground. Place the jack stands under the truck's frame and lower the truck onto the stands. This ensures that the truck is stable and won't fall while you're working on it.
Step 2: Remove the Wheels
Now that the truck is safely lifted, you can remove the lug nuts and take off the rear wheels. Set the wheels aside in a safe place. You should now have clear access to the brake caliper and rotor.
Step 3: Remove the Brake Caliper
The brake caliper is the part that holds the brake pads. To remove it, you'll need to locate the caliper bolts. These are usually located on the back or the side of the caliper. Use a socket wrench to loosen and remove the caliper bolts. Once the bolts are removed, carefully lift the caliper off the rotor. Be careful not to let the caliper hang by the brake hose, as this can damage the hose. You can use a piece of wire or a bungee cord to suspend the caliper from the truck's frame.
Step 4: Remove the Old Brake Pads
With the caliper removed, you can now see the old brake pads. There are usually two brake pads per caliper: an inner pad and an outer pad. Use a flathead screwdriver to pry the old brake pads out of the caliper. Some brake pads may be held in place by clips or springs, so you'll need to remove these as well. Once the old brake pads are removed, take a look at the brake rotor. If it's worn, scored, or damaged, you may need to have it resurfaced or replaced.
Step 5: Compress the Brake Caliper Piston
Before you can install the new brake pads, you'll need to compress the brake caliper piston. This is necessary because the new brake pads are thicker than the old ones. You can use a C-clamp or a brake piston tool to compress the piston. Place the C-clamp or the tool over the piston and turn the handle until the piston is fully compressed. Make sure to do this slowly and evenly to avoid damaging the piston or the caliper.

Step 6: Install the New Brake Pads
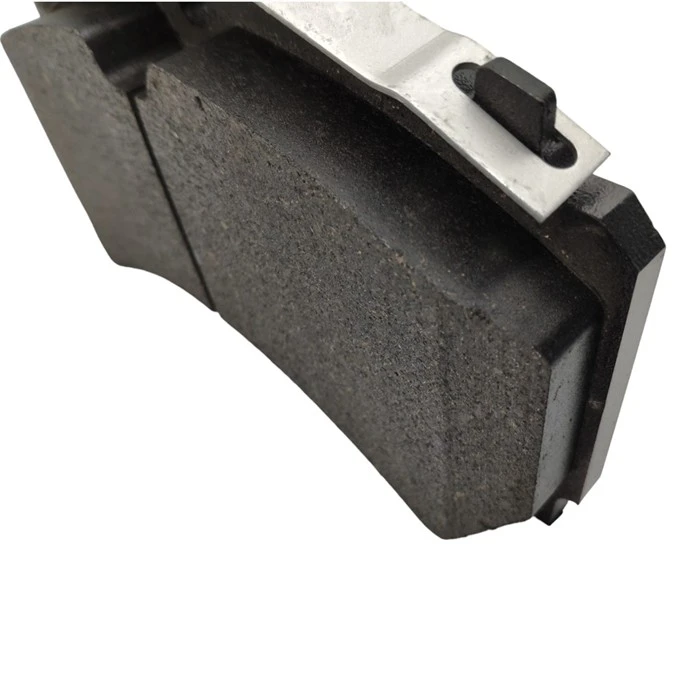
Now it's time to install the new brake pads. Start by applying a thin layer of brake grease to the back of the new brake pads. This helps to reduce noise and vibration. Then, place the inner brake pad into the caliper, followed by the outer brake pad. Make sure the brake pads are properly seated in the caliper and that the clips or springs are in place.
Step 7: Reinstall the Brake Caliper
Once the new brake pads are installed, you can reinstall the brake caliper. Carefully place the caliper over the rotor and align the bolt holes. Insert the caliper bolts and tighten them with a socket wrench. Make sure the bolts are tightened to the manufacturer's specifications.
Step 8: Reinstall the Wheels
With the brake caliper reinstalled, you can now reinstall the wheels. Place the wheels back onto the hub and hand-tighten the lug nuts. Then, use the lug wrench to tighten the lug nuts in a star pattern. This ensures that the wheels are evenly tightened and that the truck is balanced.
Step 9: Lower the Truck
Once the wheels are reinstalled, you can lower the truck off the jack stands. Use the jack to lift the truck slightly, remove the jack stands, and then slowly lower the truck back to the ground. Finally, use the lug wrench to give the lug nuts one last tightening.
Step 10: Test the Brakes
Before you hit the road, it's important to test the brakes. Start the engine and pump the brake pedal a few times to build up pressure. Then, take the truck for a short test drive in a safe area. Make sure the brakes are working properly and that there are no strange noises or vibrations.
Other Brake Pad Options
If you're also interested in other types of brake pads, we offer a wide range of options. Check out our Bus Front Brake Pads, Transit Van Brake Pads, and Heavy Duty Ceramic Brake Pads. These brake pads are designed to meet the specific needs of different vehicles and driving conditions.
Conclusion and Contact
Well, there you have it! That's the installation process of rear truck brake pads. It may seem like a daunting task at first, but with the right tools and a little patience, you can do it yourself. If you have any questions or need more information about our rear truck brake pads or other brake pad products, feel free to contact us. We're here to help you keep your truck safe on the road.
References
- Brake Pad Installation Guides from Various Truck Manufacturers
- Automotive Repair Manuals