

Hey there, folks! I'm a supplier of rear drum brake shoes, and today I'm gonna walk you through the process of replacing the hold - down spring in rear drum brake shoes. It might seem a bit tricky at first, but with a little patience and the right steps, you'll have it done in no time.
Why Replace the Hold - Down Spring?
First off, you might be wondering why you need to replace the hold - down spring. Well, over time, these springs can wear out, lose their tension, or even break. When that happens, the brake shoes might not stay in place properly. This can lead to uneven braking, reduced braking efficiency, and in some cases, it can even be a safety hazard. So, if you notice any rattling noises coming from your rear brakes or if your braking performance seems off, it could be a sign that the hold - down spring needs to be replaced.
Tools You'll Need
Before we get started, let's talk about the tools you'll need. You don't need a whole bunch of fancy equipment, but having the right tools will make the job a lot easier. Here's what you'll need:
- A brake spring tool: This is a special tool designed to help you remove and install the hold - down springs. You can find these at most auto parts stores.
- A socket set: You'll need this to remove the wheel and any bolts holding the brake drum in place.
- A flat - tip screwdriver: This can be used to pry off any clips or hold - downs that are in the way.
- A pair of pliers: Handy for gripping and pulling small parts.
Step 1: Prepare Your Vehicle
The first thing you need to do is make sure your vehicle is safe to work on. Park your car on a flat, level surface and engage the parking brake. If you're working on a heavy - duty truck, trailer, or freight car, make sure it's properly chocked to prevent it from rolling. You can check out our Heavy Duty Truck Brake Shoes, Trailer Drum Brake Shoes, and Freight Car Brake Shoes if you need new brake shoes while you're at it.
Next, loosen the lug nuts on the wheel you'll be working on, but don't remove them just yet. Then, use a jack to lift the vehicle off the ground and place jack stands under the appropriate points. Make sure the vehicle is stable before you continue.
Step 2: Remove the Brake Drum
Once the vehicle is safely lifted, remove the lug nuts and take off the wheel. Now, you'll see the brake drum. There might be a few bolts holding it in place. Use your socket set to remove these bolts. In some cases, the brake drum might be stuck. You can try gently tapping it with a rubber mallet to loosen it. Once it's loose, pull the brake drum off.
Step 3: Locate the Hold - Down Spring
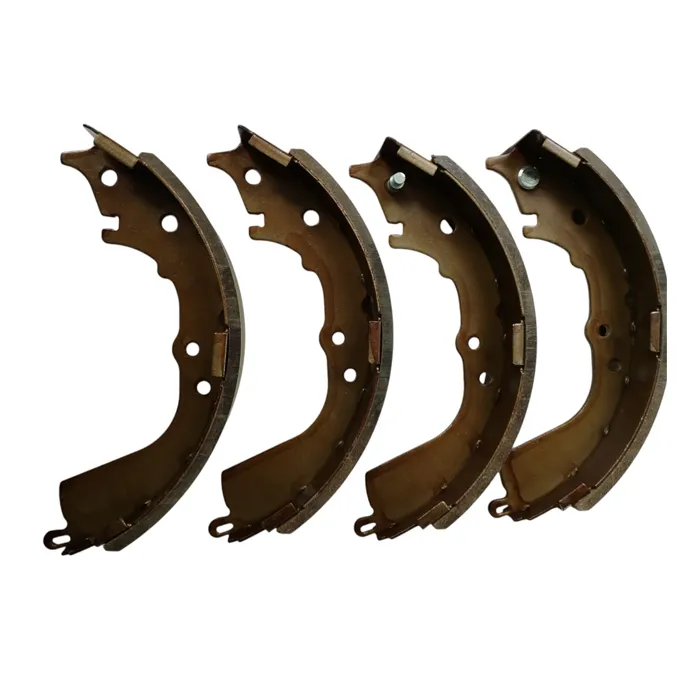
With the brake drum removed, you'll be able to see the brake shoes and the hold - down spring. The hold - down spring is usually located at the top or bottom of the brake shoes, depending on the design of your vehicle. It's a small, coiled spring that holds the brake shoes in place against the backing plate.
Step 4: Remove the Old Hold - Down Spring
This is where the brake spring tool comes in handy. Insert the tool into the hold - down spring and compress it. This will release the tension on the spring, allowing you to remove it from the brake shoes and the backing plate. Be careful when you're doing this, as the spring can be under a lot of tension and might snap back if you're not careful. You can use your pliers to help guide the spring out if it's a bit stubborn.
Step 5: Install the New Hold - Down Spring
Once the old spring is out, it's time to install the new one. Take your new hold - down spring and use the brake spring tool to compress it. Slide the spring onto the brake shoes and the backing plate in the same position as the old spring. Make sure it's seated properly and that the tension is evenly distributed.
Step 6: Reassemble the Brake System
With the new hold - down spring in place, it's time to put everything back together. Start by putting the brake drum back on. Make sure it fits properly and that the brake shoes are aligned correctly. Then, use your socket set to tighten the bolts that hold the brake drum in place.
Next, put the wheel back on and tighten the lug nuts. Lower the vehicle back to the ground using the jack and then use your socket set to give the lug nuts a final tightening. Make sure they're tightened to the manufacturer's specifications.

Step 7: Test Your Brakes
Before you hit the road, it's important to test your brakes. Start your vehicle and slowly drive forward a short distance. Apply the brakes gently to make sure they're working properly. If you notice any issues, such as a spongy brake pedal or uneven braking, stop the vehicle immediately and check your work.
Conclusion
Well, there you have it, folks! Replacing the hold - down spring in rear drum brake shoes isn't too difficult if you follow these steps. Remember, if you're not comfortable doing this yourself, it's always a good idea to take your vehicle to a professional mechanic.
If you're in the market for high - quality rear drum brake shoes or any other brake components, we're here to help. We offer a wide range of Heavy Duty Truck Brake Shoes, Trailer Drum Brake Shoes, and Freight Car Brake Shoes to meet your needs. Feel free to reach out to us to discuss your requirements and start a procurement negotiation.
References
- "Automotive Brake Systems" - A comprehensive guide to understanding and working on brake systems.
- Manufacturer's manuals for specific vehicles, which provide detailed information on brake system components and maintenance.