

Hey there, fellow DIY enthusiasts and car owners! I'm [Your Name], and I run a rear drum brake shoe supply business. Today, I'm gonna talk about a question I get asked a lot: "Can I replace rear drum brake shoes myself?" Well, let's dig into this topic and find out.
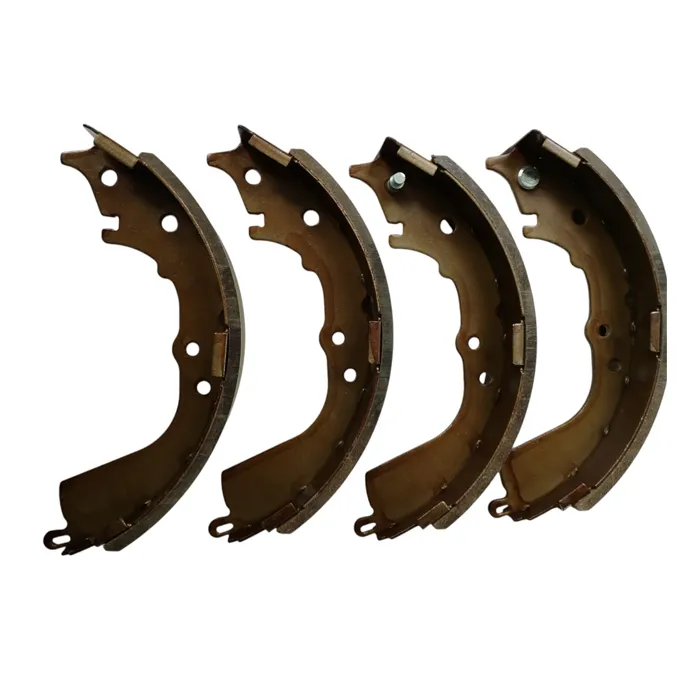
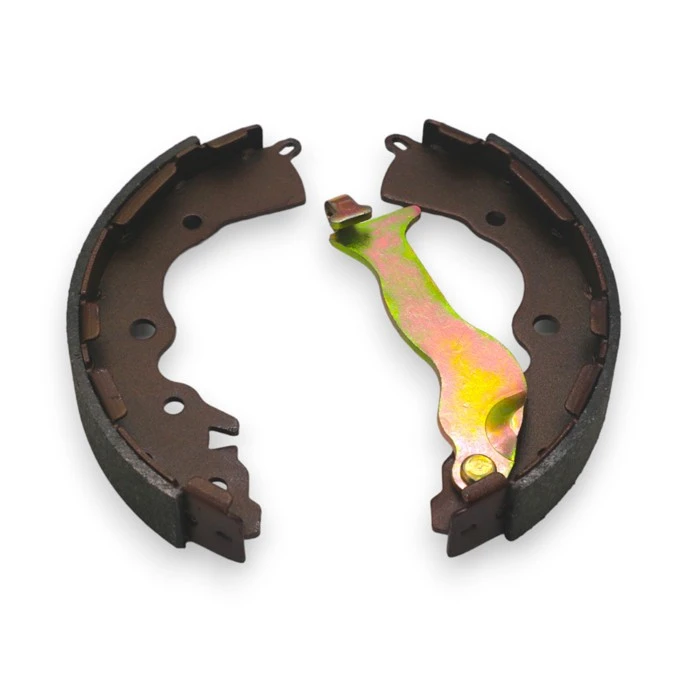
First off, let's understand what rear drum brake shoes are. They're an essential part of your vehicle's braking system. When you step on the brake pedal, the brake shoes press against the inside of the brake drum, creating friction that slows down or stops your wheels. Over time, these brake shoes wear out and need to be replaced.
Now, the big question: Can you do it yourself? The short answer is yes, you can. But it's not as simple as changing a tire. You need to have some basic mechanical skills, the right tools, and a good understanding of your vehicle's braking system.
Let's start with the tools you'll need. You'll need a socket set, a brake spring tool, a brake adjustment tool, a torque wrench, and a jack and jack stands. These tools are pretty standard in any DIY mechanic's toolbox, but if you don't have them, you can usually rent them from an auto parts store.
Before you start, make sure you have the right brake shoes for your vehicle. You can find this information in your vehicle's owner's manual or by checking the part number on the old brake shoes. As a rear drum brake shoe supplier, I can tell you that we offer a wide range of brake shoes, including Ceramic Drum Brake Shoes, Heavy Duty Truck Brake Shoes, and Freight Car Brake Shoes. These brake shoes are made from high-quality materials and are designed to provide reliable braking performance.
Once you have the tools and the brake shoes, it's time to get started. Here's a step-by-step guide on how to replace rear drum brake shoes:
Step 1: Prepare Your Vehicle
Park your vehicle on a flat, level surface and engage the parking brake. Loosen the lug nuts on the rear wheels, but don't remove them yet. Then, use a jack to lift the rear of the vehicle and place jack stands under the frame for support. Finally, remove the lug nuts and the rear wheels.
Step 2: Remove the Brake Drum
The brake drum is held in place by the brake shoes and a retaining screw. Use a socket wrench to remove the retaining screw, and then gently tap the brake drum with a hammer to loosen it. If the drum is stuck, you may need to use a brake drum puller. Once the drum is loose, remove it and set it aside.
Step 3: Remove the Old Brake Shoes
The brake shoes are held in place by springs and pins. Use a brake spring tool to remove the springs, and then use a socket wrench to remove the pins. Once the springs and pins are removed, you can lift the old brake shoes out of the brake assembly.
Step 4: Inspect the Brake Assembly
While the brake shoes are removed, take a moment to inspect the brake assembly for any signs of wear or damage. Check the brake drum for cracks, scoring, or excessive wear. Check the brake hardware, such as the springs and pins, for signs of corrosion or damage. If you notice any problems, you may need to replace the damaged parts.
Step 5: Install the New Brake Shoes
Place the new brake shoes in the brake assembly, making sure they are properly aligned. Then, use a brake spring tool to install the springs and a socket wrench to install the pins. Make sure the springs are properly tensioned and the pins are tightened to the correct torque.
Step 6: Adjust the Brake Shoes
Once the new brake shoes are installed, you need to adjust them to ensure proper braking performance. Use a brake adjustment tool to adjust the brake shoes until they are just touching the inside of the brake drum. You should be able to rotate the brake drum by hand, but it should feel slightly tight.
Step 7: Install the Brake Drum
Place the brake drum back on the brake assembly and reinstall the retaining screw. Make sure the brake drum is properly seated and the retaining screw is tightened to the correct torque.
Step 8: Reinstall the Rear Wheels
Place the rear wheels back on the vehicle and hand-tighten the lug nuts. Then, use a torque wrench to tighten the lug nuts to the correct torque. Finally, lower the vehicle to the ground and remove the jack stands.
Step 9: Test the Brakes
Before you drive your vehicle, make sure to test the brakes. Start the engine and pump the brake pedal a few times to build up brake pressure. Then, slowly drive your vehicle and apply the brakes to make sure they are working properly. If you notice any problems, such as a spongy brake pedal or a pulling sensation when braking, stop driving your vehicle and have it inspected by a professional mechanic.
As you can see, replacing rear drum brake shoes is a relatively straightforward process, but it does require some time and effort. If you're not comfortable working on your vehicle's braking system, or if you don't have the right tools or experience, it's best to leave the job to a professional mechanic.
However, if you're a DIY enthusiast and you're up for the challenge, replacing rear drum brake shoes can be a rewarding experience. Not only will you save money on labor costs, but you'll also have the satisfaction of knowing that you did the job yourself.
If you're interested in purchasing rear drum brake shoes or have any questions about our products, please don't hesitate to contact us. We're here to help you find the right brake shoes for your vehicle and provide you with the support and guidance you need to get the job done right.
In conclusion, replacing rear drum brake shoes is a task that you can do yourself if you have the right tools, skills, and knowledge. But it's important to take your time, follow the instructions carefully, and always prioritize safety. If you have any doubts or concerns, don't hesitate to seek professional help.
References:
- "How to Replace Rear Drum Brake Shoes." AutoZone.
- "Brake Shoe Replacement: A Step-by-Step Guide." YourMechanic.
- "DIY Brake Shoe Replacement: What You Need to Know." CarParts.com.