

Autocross, a thrilling motorsport that combines speed, precision, and skill, demands top-notch performance from every component of your vehicle, especially the brakes. As an autocross brake pads supplier, I often get asked by enthusiasts, "Can I install autocross brake pads myself?" In this blog post, I'll delve into the details of brake pad installation, weighing the pros and cons of a DIY approach and providing you with the information you need to make an informed decision.
Understanding Autocross Brake Pads
Before we jump into the installation process, it's essential to understand what makes autocross brake pads different from regular ones. Autocross involves short, intense bursts of high-speed driving followed by rapid deceleration. This puts extreme stress on the braking system, requiring brake pads that can withstand high temperatures, provide consistent stopping power, and resist fade.
We offer a range of brake pads tailored to the unique demands of autocross. Our Organic Ceramic Brake Pads are known for their quiet operation, low dust production, and excellent initial bite. They're a great choice for drivers who want a balance between performance and daily drivability. On the other hand, our Car Metallic Brake Pads are designed for maximum stopping power and heat dissipation. They're ideal for serious autocross competitors who need to shave off every second on the track. For those looking for a middle ground, our Less Metal Brake Pads offer a combination of performance and reduced noise compared to full metallic pads.
The DIY Approach: Pros and Cons
Pros
- Cost Savings: One of the most significant advantages of installing brake pads yourself is the potential cost savings. You'll avoid labor charges at a mechanic's shop, which can be a substantial portion of the total cost.
- Learning Experience: Taking on a DIY project like brake pad installation is a great way to learn more about your vehicle's braking system. It gives you a deeper understanding of how your car works and can empower you to perform other maintenance tasks in the future.
- Customization: When you install the brake pads yourself, you have complete control over the process. You can choose the exact brake pads that suit your needs and preferences, and you can take your time to ensure the installation is done correctly.
Cons
- Safety Risks: Brakes are a critical safety component of your vehicle. If the brake pads are not installed correctly, it can lead to reduced braking performance, increased stopping distances, or even brake failure. This poses a significant risk to you and other road users.
- Specialized Tools and Knowledge: Installing brake pads requires specific tools and a certain level of mechanical knowledge. If you don't have the right tools or experience, you may damage the brake components or make mistakes during the installation process.
- Warranty Concerns: Some manufacturers may void the warranty on their brake pads if they're not installed by a certified mechanic. Before attempting a DIY installation, it's important to check the warranty terms and conditions.
The Installation Process
If you've decided to take on the challenge of installing autocross brake pads yourself, here's a general overview of the installation process:
- Gather the Necessary Tools and Materials: You'll need a jack, jack stands, a lug wrench, a C-clamp, a brake pad spreader, a socket set, a torque wrench, and the new brake pads.
- Prepare the Vehicle: Park your car on a level surface and engage the parking brake. Loosen the lug nuts on the wheels, but don't remove them completely. Then, use the jack to lift the vehicle and secure it with jack stands.
- Remove the Wheels: Once the vehicle is safely supported, remove the lug nuts and take off the wheels.
- Locate the Brake Caliper: The brake caliper is the component that holds the brake pads and squeezes them against the brake rotor to create friction. Use a socket wrench to remove the bolts that hold the caliper in place.
- Remove the Old Brake Pads: Once the caliper is removed, you can access the old brake pads. Use a brake pad spreader or a C-clamp to compress the caliper piston. This will create enough space to remove the old brake pads and install the new ones.
- Install the New Brake Pads: Place the new brake pads in the caliper, making sure they're properly seated. Then, use the C-clamp or brake pad spreader to compress the caliper piston again, so the caliper can fit back over the new brake pads.
- Reinstall the Brake Caliper: Carefully place the caliper back over the brake rotor and secure it with the bolts. Make sure the bolts are tightened to the manufacturer's specifications using a torque wrench.
- Reinstall the Wheels: Put the wheels back on the vehicle and hand-tighten the lug nuts. Then, lower the vehicle to the ground and use the torque wrench to tighten the lug nuts to the correct torque specification.
- Test the Brakes: Before driving your vehicle, pump the brake pedal a few times to build up pressure in the brake system. Then, take your car for a short test drive in a safe area to make sure the brakes are working properly.
Tips for a Successful Installation
- Read the Manufacturer's Instructions: Before starting the installation process, carefully read the manufacturer's instructions that come with the new brake pads. They'll provide specific information and guidelines for your particular vehicle and brake pads.
- Inspect the Brake Components: While you have the wheels off, take the opportunity to inspect the brake rotors, calipers, and other components for any signs of wear or damage. If you notice any issues, it's important to address them before reinstalling the brake pads.
- Use Anti-Seize Compound: Applying anti-seize compound to the caliper bolts and other brake components can help prevent corrosion and make future maintenance easier.
- Bed the Brake Pads: After installing the new brake pads, it's important to bed them in properly. This involves a series of controlled stops at different speeds to transfer a thin layer of friction material from the brake pads to the brake rotors. Bedding the brake pads correctly will ensure optimal braking performance and longevity.
Conclusion
So, can you install autocross brake pads yourself? The answer is yes, but it's not a decision to be taken lightly. While a DIY installation can save you money and give you a sense of accomplishment, it also comes with significant safety risks and requires a certain level of skill and knowledge. If you're confident in your abilities and have the necessary tools and experience, then go ahead and give it a try. However, if you're unsure or don't feel comfortable with the process, it's best to leave it to a professional mechanic.
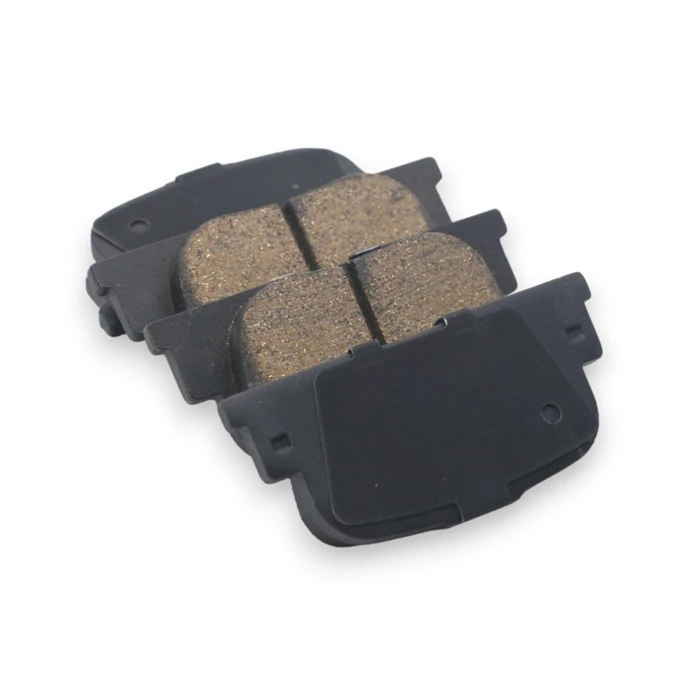
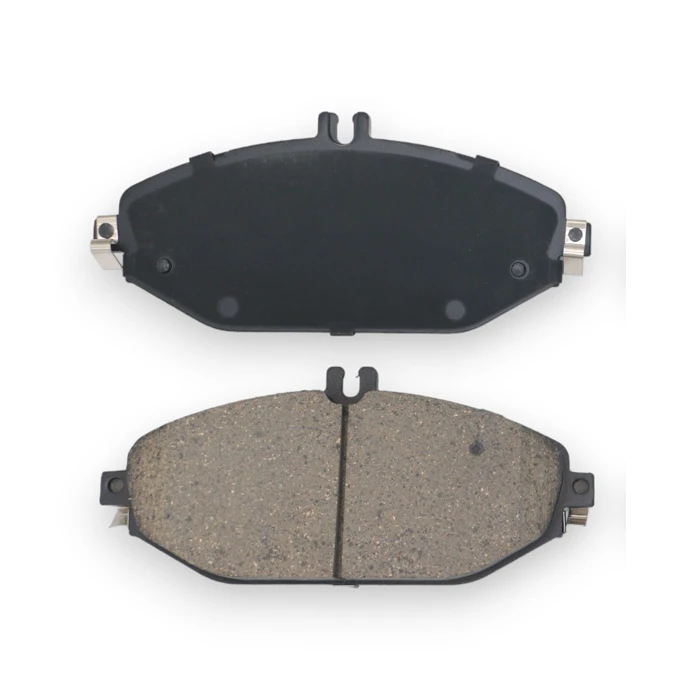
As an autocross brake pads supplier, we're here to provide you with high-quality brake pads and expert advice. Whether you choose to install the brake pads yourself or have them installed by a mechanic, we can help you find the perfect brake pads for your needs. If you have any questions or would like to discuss your options, please don't hesitate to contact us. We're always happy to assist you in making the right choice for your vehicle.
References
- Chilton's Complete Car Care Manual
- Haynes Repair Manuals
- Brake Pad Manufacturer's Installation Guides